| |||||||||||||||||||||||||||||||||||||||||||||||||
|---|---|---|---|---|---|---|---|---|---|---|---|---|---|---|---|---|---|---|---|---|---|---|---|---|---|---|---|---|---|---|---|---|---|---|---|---|---|---|---|---|---|---|---|---|---|---|---|---|---|
Showing posts with label Installation Instruction. Show all posts
Showing posts with label Installation Instruction. Show all posts
Friday, July 26, 2013
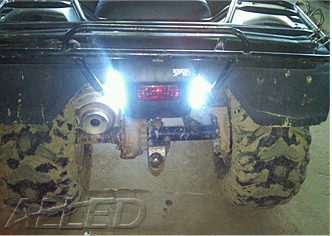
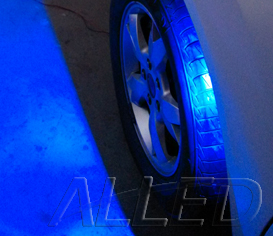
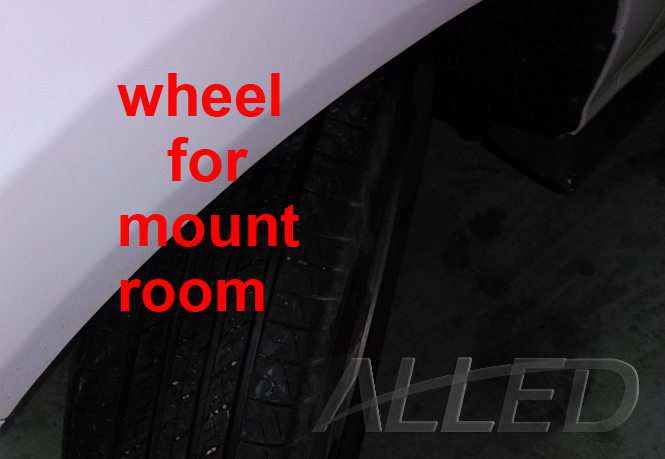
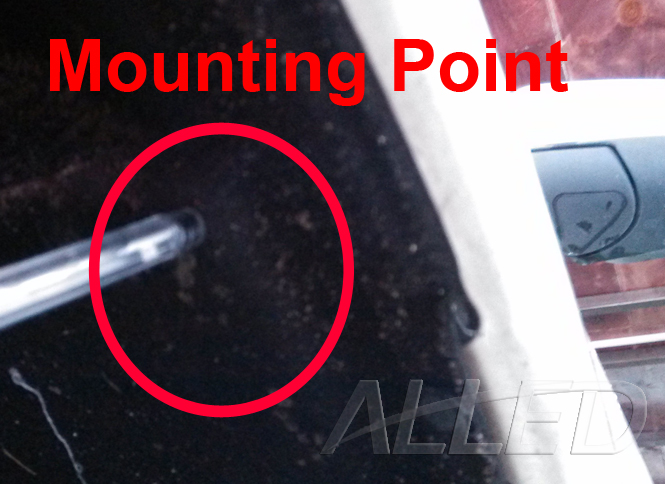
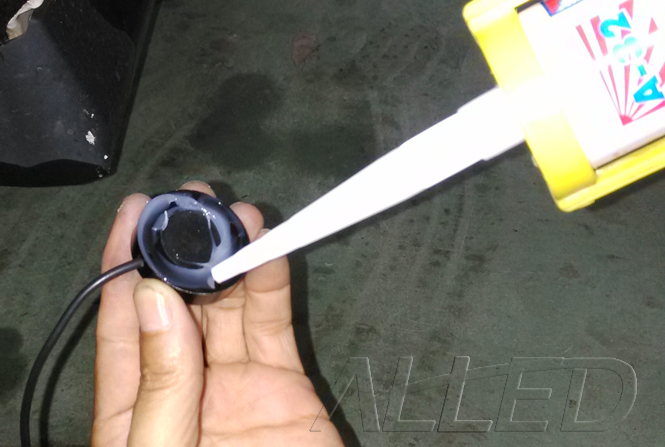
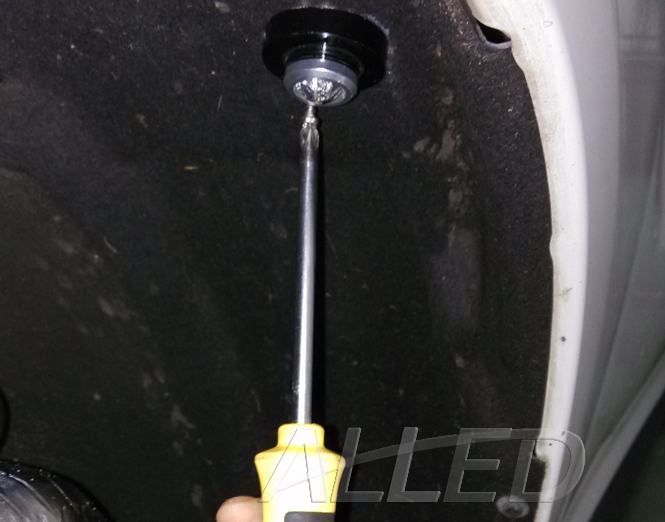
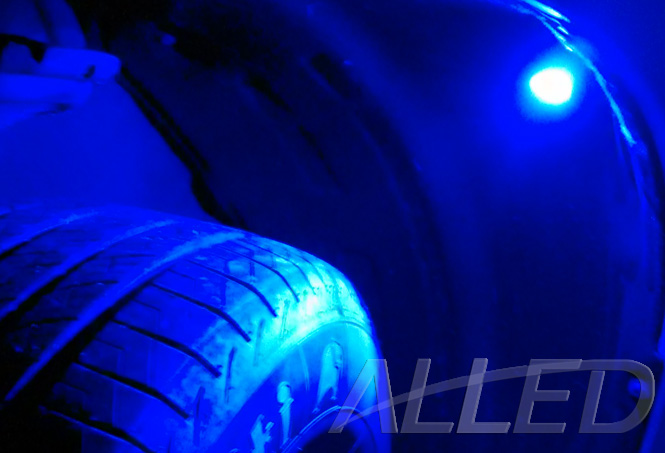
How to fix the underbody light on your lovely car?

Tuesday, July 9, 2013
Add an LED Awning Light to your RV
Add an LED Awning Light to your RV
Adding an awning light to your awning will extent your exterior camping activities scope at night. During the daytime, an awning provides shelter for sun or rain protection, while at night; you can enjoy a BBQ campfire with your family under the awning. But an awning light is needed to illuminate your activity scope.
At market, there is a wide range of choice of Awning light. Except the traditional awning/ annex light, LED Flexible Strip Light can also be used as awning illumination while it has the advantages of dimmable and remote controlled. LED Camping Light can be used for awning applications if you place a great requirement on brightness level. Actually adding an awning light to your RV is quite flexible. As which kind of light to choose, it is determined by the purpose for your awning light and affected by the length or construction of your awning. So before purchasing an awning light, ask youself a few questions, how long is my awning? If I purchase a LED Light ribbon, do I need to cut it apart? Do I need sufficient illumination so that I can cook exteriorly or play cards with my family?
As one of ALLED lighting store’s famous product is a 40 degrees downward illumination LED Awning Light, here we make a step by step installation demo for awning light installation.
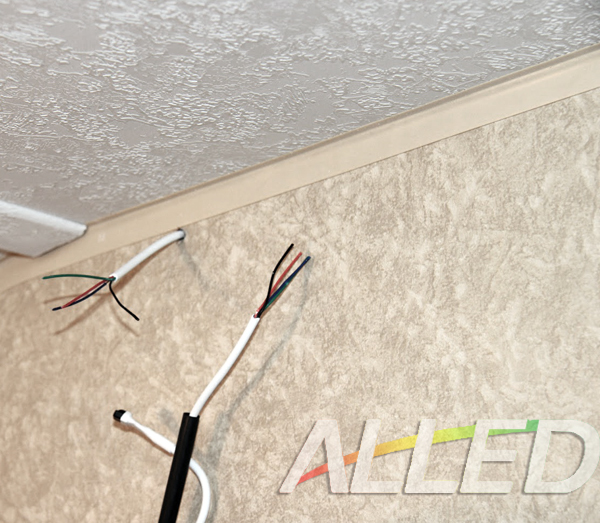
Step1, Mark the location where the light is to be installed. Pull the wire from the car battery to the marked location. Cut a hole for wires to go through at your vehicle with an electrical drill. The hole should be large enough for bushings to go through.
Attention: Cut the electricity OFF at the main electrical panel before you do the wiring.
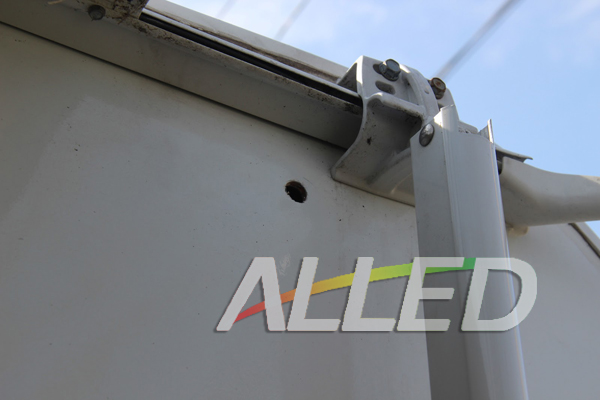
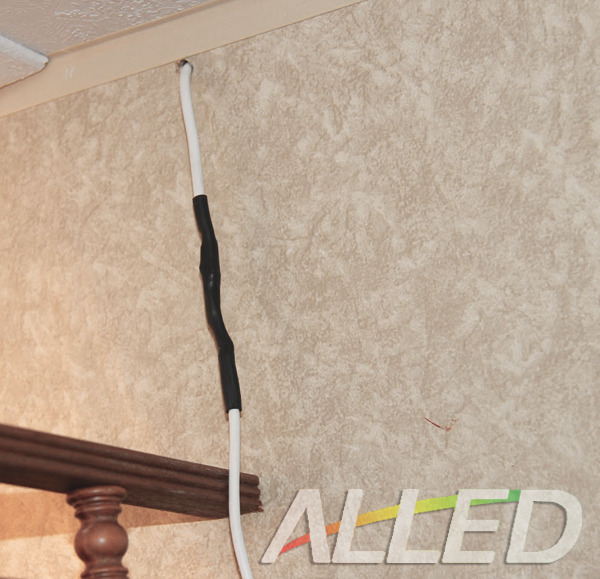
Image2 shows the electrical wire connection from the inside of the vehicle.
Step3, prepare the awning light. Open the package, then you can see one piece of LED Awning Light and the provided screws. Wire the light.
Step4, Screwing the light to fix it.
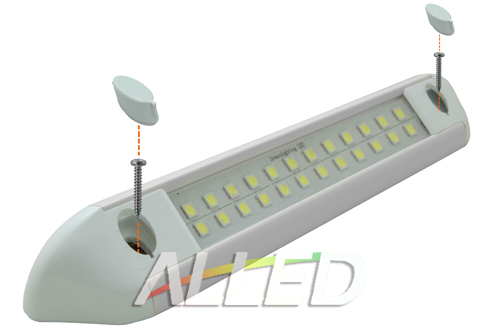
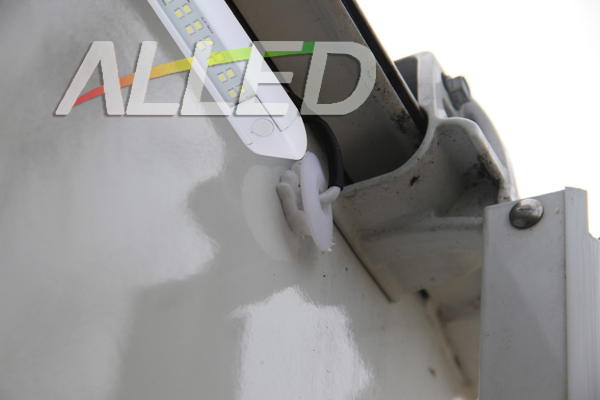
Before doing that, do not forget to clean the surface of the vehicle for a good appearance. Detach the caps on both ends of the awning light, and then you can see the screwing holes. Fix the light by surface mounting it. Then put back the caps to conceal the screws.
-->
Adding an awning light to your awning will extent your exterior camping activities scope at night. During the daytime, an awning provides shelter for sun or rain protection, while at night; you can enjoy a BBQ campfire with your family under the awning. But an awning light is needed to illuminate your activity scope.
At market, there is a wide range of choice of Awning light. Except the traditional awning/ annex light, LED Flexible Strip Light can also be used as awning illumination while it has the advantages of dimmable and remote controlled. LED Camping Light can be used for awning applications if you place a great requirement on brightness level. Actually adding an awning light to your RV is quite flexible. As which kind of light to choose, it is determined by the purpose for your awning light and affected by the length or construction of your awning. So before purchasing an awning light, ask youself a few questions, how long is my awning? If I purchase a LED Light ribbon, do I need to cut it apart? Do I need sufficient illumination so that I can cook exteriorly or play cards with my family?
As one of ALLED lighting store’s famous product is a 40 degrees downward illumination LED Awning Light, here we make a step by step installation demo for awning light installation.
Step1, Mark the location where the light is to be installed. Pull the wire from the car battery to the marked location. Cut a hole for wires to go through at your vehicle with an electrical drill. The hole should be large enough for bushings to go through.
Attention: Cut the electricity OFF at the main electrical panel before you do the wiring.
Image2 shows the electrical wire connection from the inside of the vehicle.
Step3, prepare the awning light. Open the package, then you can see one piece of LED Awning Light and the provided screws. Wire the light.
Step4, Screwing the light to fix it.
Before doing that, do not forget to clean the surface of the vehicle for a good appearance. Detach the caps on both ends of the awning light, and then you can see the screwing holes. Fix the light by surface mounting it. Then put back the caps to conceal the screws.
Saturday, May 4, 2013
How to Fix Car Tail Lights: Step-by-Step Instructions - wikiHow
The car tail lights's installation is shown below:How to Fix Car Tail Lights: Step-by-Step Instructions - wikiHow
By the way ,are you interested in the another choice for the car tail lights instead of the traditonal ?LED
BA15D parallel pin can do you a favour,with lower energy consumption,high luminous efficency,enviromental protection.
http://www.alled.com.au/goods-40-BA15D+1157+18-SMD-LED+Replacement+Bulb+Parallel+Pin.html
By the way ,are you interested in the another choice for the car tail lights instead of the traditonal ?LED
BA15D parallel pin can do you a favour,with lower energy consumption,high luminous efficency,enviromental protection.
http://www.alled.com.au/goods-40-BA15D+1157+18-SMD-LED+Replacement+Bulb+Parallel+Pin.html
Friday, May 3, 2013
How to replace a LED parking light?
How to replace a LED stop light?
|
| As everyone knows, a stop light is a hopelessly important ensuring measure for our on-road safety, there are many people are get used to consult the professional garage, actually, you can stand on yourself with a little effort. Here below are some tips for replacement procession. |
|
| 2.? Locate and pull out the traditional halogen socket, take out the original halogen one, if you are not familiar to the exact position just search for the screwdriver to screw the plastic or glass lens out. |
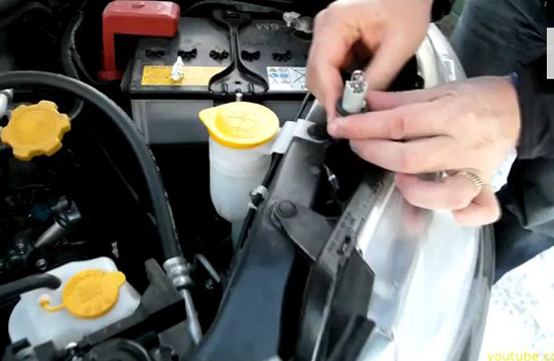 |
| The halogen one awaitting the replacement |
| 3. Reach out for the LED BA15d parallel bulb or LED T10. |
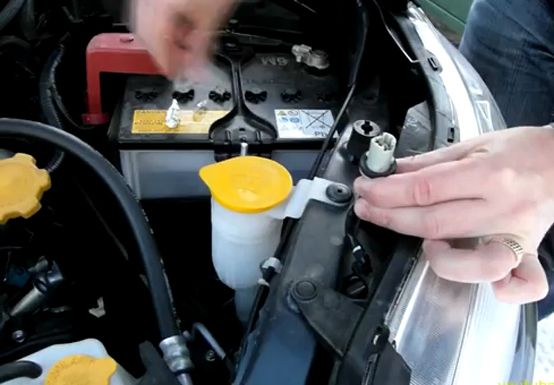 |
| Take the LED T10 bulb for model but the LED BA15D parallel pin bulb is optional also. |
| 4.Plug the bulb in the socket |
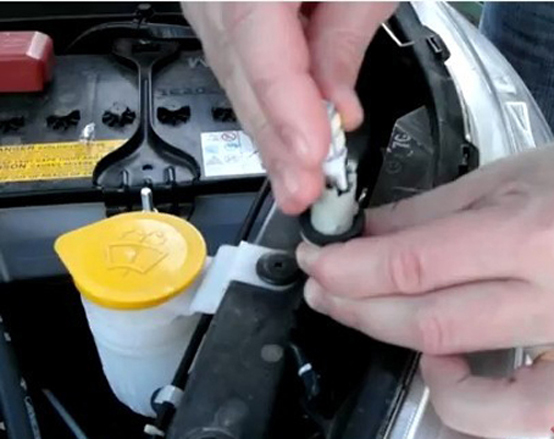 |
| Just insert the bulb into the socket | |
| 5. Connect the electricity to check the real illumination situation. Do the self-test (with the broomstick) or get a friend or a large mirror situated so you can see from the driver's seat whether the brake lights go on and when you apply pressure to the brake pedal. | |
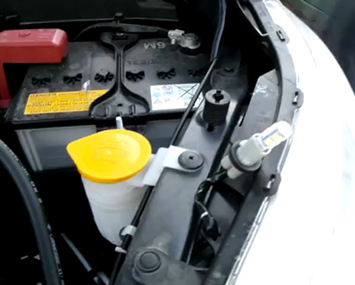 |
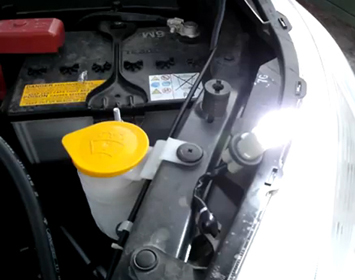 |
| The lighting situations piror to "off"status | |
| 6. If it works well, put the integrated light into the original setting place | |
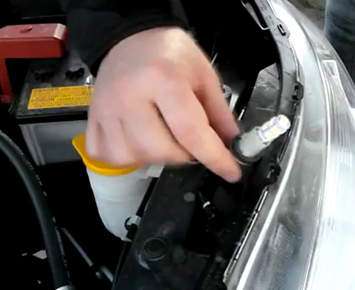 |
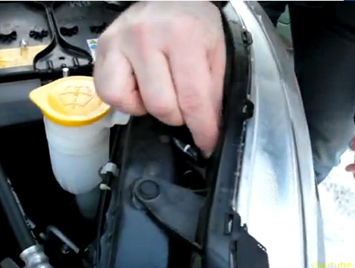 |
| Reset the led T10 bulb into the original position | |
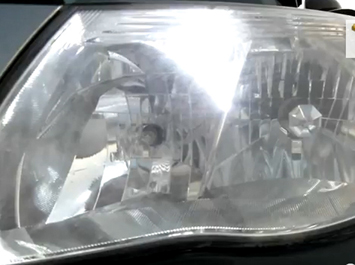
| 7. Turn on the switch and recheck the lighting through the lamp housing. | |
 |
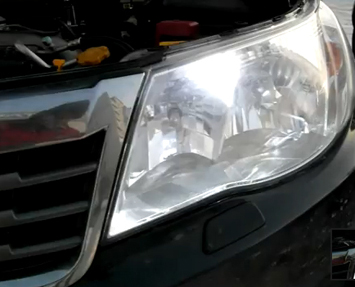 |
| The lighting output satisfys you?? |
| 8. If they don't go on well, double check your procedure, if the situation recurs continually, you may have a bad socket, which will requires to ask for professional mechanic’s help. |
Tuesday, April 23, 2013
How to install and use a dual color camping kit
| Maybe you would have someting confusion about the installation of the newly bought dual colour camping kit ,so why not go to the class of how to install and use a dual color camping kit in this moment? |
| Firstly: Check what is in the handbag package |
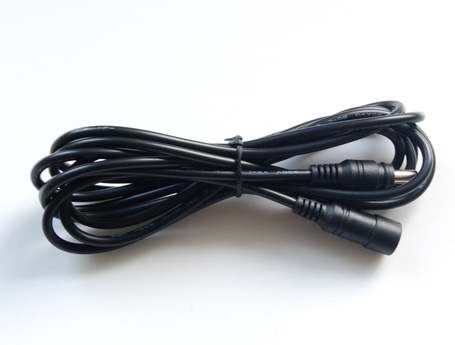
| 1.5500mm cable line for flexible connection |
 |
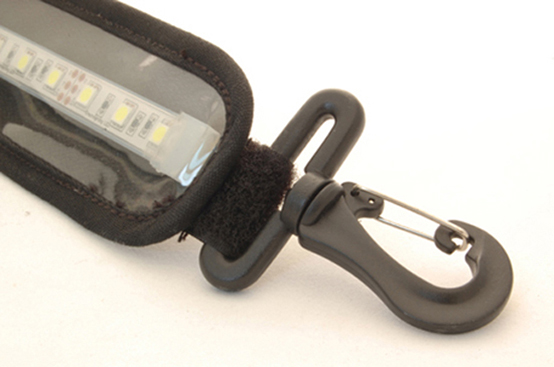
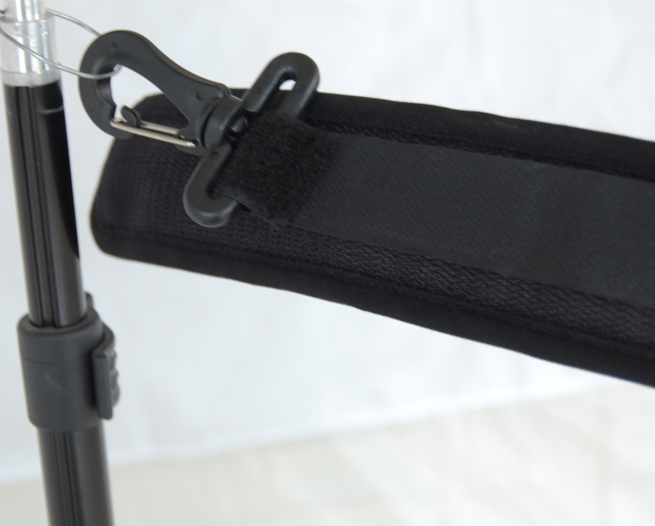
| 2. Hooks at ends for easy mounting |
 |
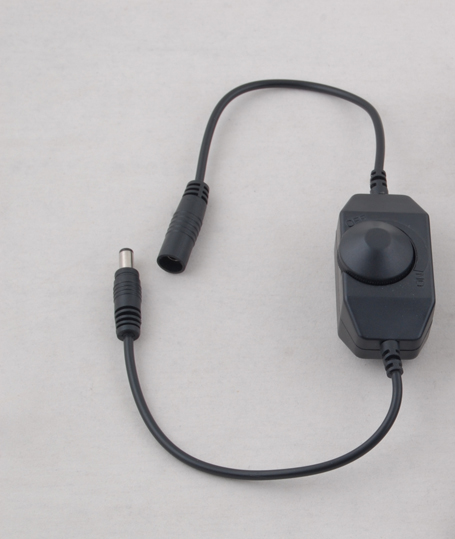
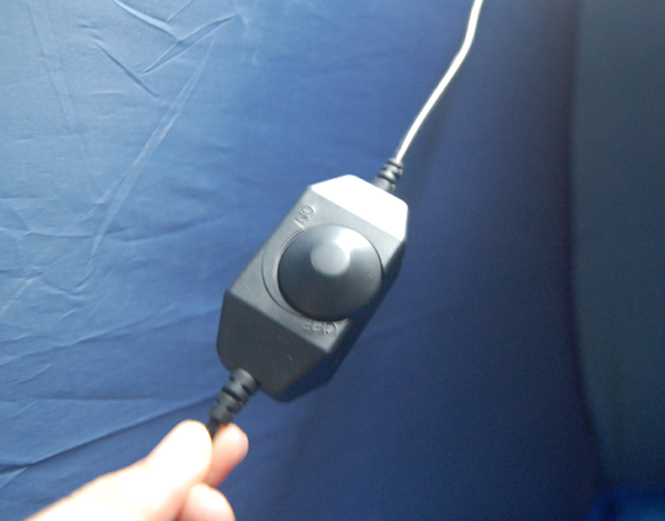
| 3. Programmed dimmer switch for lighting adjustment |
 |
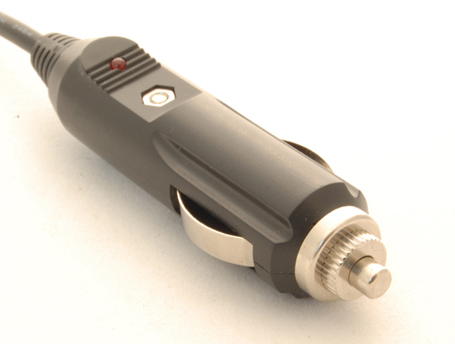
| 4. Cable with cigarette adaptor for the simple connection to the outdoor power source. |
 |
| Secondly: Simple and easy installation |
| 1.The ordinary installation process would be stared from the camping, find the fitting point for the kit you prefer in the camp, and fasten it with hooks at ends. |
 |
| 2.It is turn to connect the dimmer switch. |
 |
| 3.Then the connection cables is time to show up, which should take responsibility to be a bridge of camping and the car. |
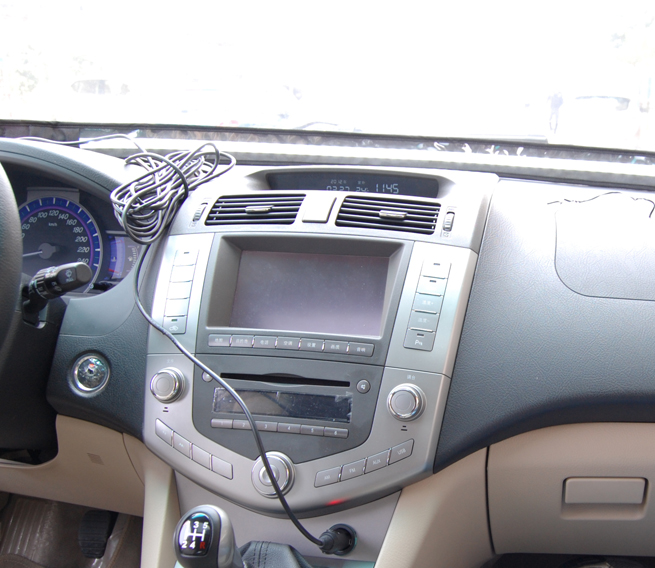
| 4.The final station would be the cigarette adaptor, plug it into the cigarette connecter for the power output supply. |
 |
| Thirdly: Featured mothproof lighting control |
| The course of fixing tends to be a research, the kit impress me most is definitely the featured mothproof dimmer switch. So here we go. The dimmer switch is a smart creation relying on the programming technology, it is a special button with two control patterns, including pressing down and rotating. |
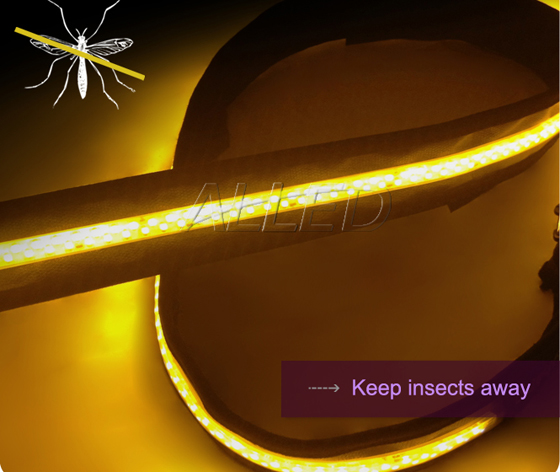
| 1. The press pattern is a adjustable way for the cool white or amber color, and the cool white NO/OFF. Press once is ordinary cool white color, press twice is amber. Then the three actions will lead to shutting down. |
 |
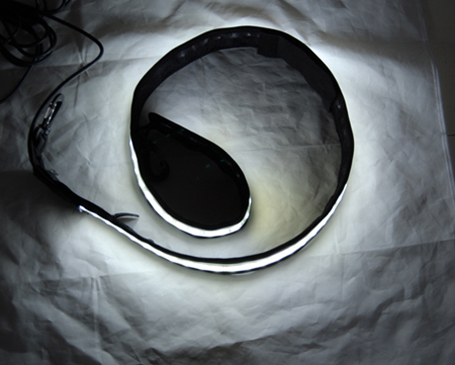
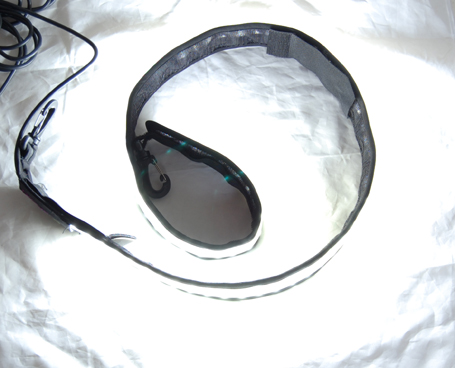
| 2. The rotating pattern is a brightness level adjustable button. You can adjust its brightness rotating. As you know, the closer the placing point gets to the “ON”, the brighter level the lighting will be. |
 |
 |
| Prompt tips: |
| In general, the installation is not bound to make you awkward, if you set the primary points in mind. |
| 1. For the distance between the fitting location and the power source, you have to ensure it is under the range of 5500mm, unless you don’t mind taking trouble to go shopping for more and longer connecting cable.? 2. You can make the installation process turn around, from the power source~ cigarette connector, connecting cables, programmed dimmer switch and the final LED dual color camping kit, which is less possible to confuse you. 3. Please make sure all the setting course should be placed under the power-off circumstance. A pair of qualified plastic gloves is in necessary need, go and do preparation. Never play a joke on your safe and health. 4. If you would like to make it in another use in household .please take a transformer as the? LED ?dual camping kit is just for 12v DC. |
Monday, April 22, 2013
Friday, April 19, 2013
How to Replace A Caravan Awning Light: 7 Steps (with Pictures)
As the LED Awning Light is the Year 2012 new product of ALLED lighting online store, please have a look at our customer usage experience. You will find that it is designed with extremly considerable construction. So just takes several step to finish the installatioin process. Even DIY can be considered. How to Replace A Caravan Awning Light: 7 Steps (with Pictures)
Subscribe to:
Posts (Atom)